
Log Hive Inspections in Seconds with QR Hive Tags
Scan a tag with your phone. HiveLogger opens a new log for that hive instantly. No menus, no searching.
Choose Your Tag
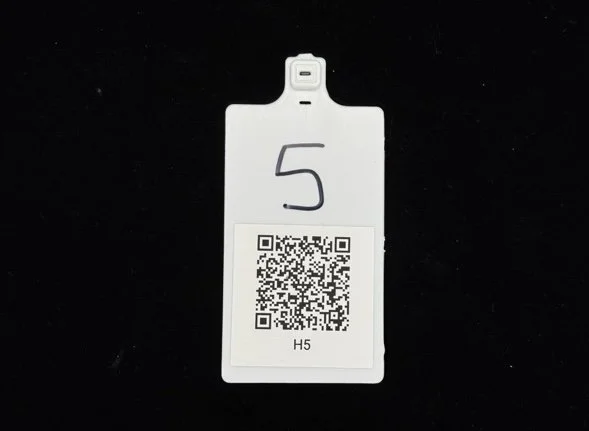
DIY QR Tags
Print your own QR labels at home using a laser printer and weatherproof sheet labels. A low-cost way to get started. Each tag costs about $0.50–$0.75 to make.
Best for: Hobbyists, small setups, or anyone who wants to try QR tagging before buying hardware.
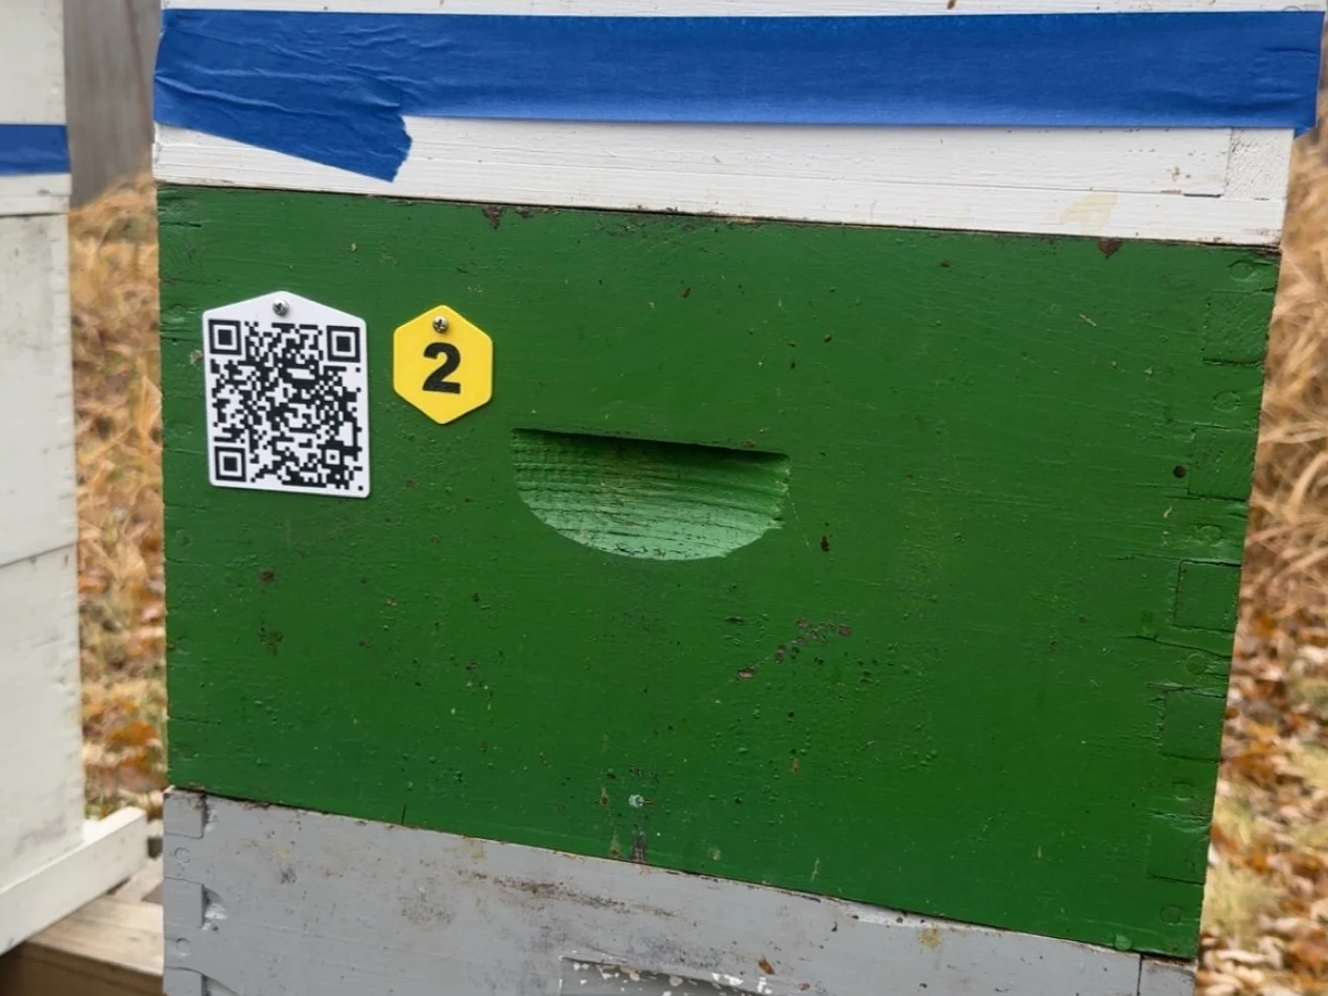
Weatherproof QR Tags
UV-stable plastic tags that screw directly onto your hive. Designed for long-term outdoor exposure. No labels to replace, no reprinting season after season. From $2.99 each with volume pricing available.
Best for: Beekeepers who want a permanent, consistent setup that lasts.
DIY vs. Weatherproof: Which Is Right for You?
| Feature | DIY QR Tags | Weatherproof QR Tags |
|---|---|---|
| Cost | About $0.50–$0.75 each | From $2.99 each (volume pricing available) |
| Durability | Water-resistant label, lasts 1–2 years outdoors before fading or peeling | UV-stable plastic, lasts 2+ years. Rarely needs replacing. |
| What You Need | Laser printer, weatherproof sheet labels, backing tags, screwdriver, wood screws | Screwdriver and wood screws |
| Replacement | Replace every season or two | Almost never |
| Best For | DIY setups, hobbyists, or short-term trials | Beekeepers wanting durability and a permanent setup |
Both tag types work with the free tier of HiveLogger. QR scanning is available to all users, no Pro subscription required.
Start Logging Your Hives Today.
Free to download. New subscribers get a 30-day free trial of HiveLogger Pro.