
How To Make DIY QR Hive Tags
QR codes for each hive can be printed directly from the HiveLogger app. Before starting, note that a laser printer is required (inkjet ink smears when wet) and the labels need to go onto a smooth backing tag, not directly onto the hive wood.
Materials & equipment
- 12 per sheet
- Avery 64510
- Premium Label Supply PLS299
- 20 per sheet
- Online Labels OL330
- Premium Label Supply PLS289
- Backing tags (Amazon)
- Hive boxes are too rough to stick labels directly to them. Backing tags can be smooth plastic or metal surface to stick the labels to and then screw to the hive.
- #4 or #6 screws to mount backing tags onto the hive box.
- A laser printer is required. An inkjet printer's ink will smear when wet. If you only have an inkjet printer, print QR codes onto regular paper, cut them to size, and laminate.
Step-by-step instructions
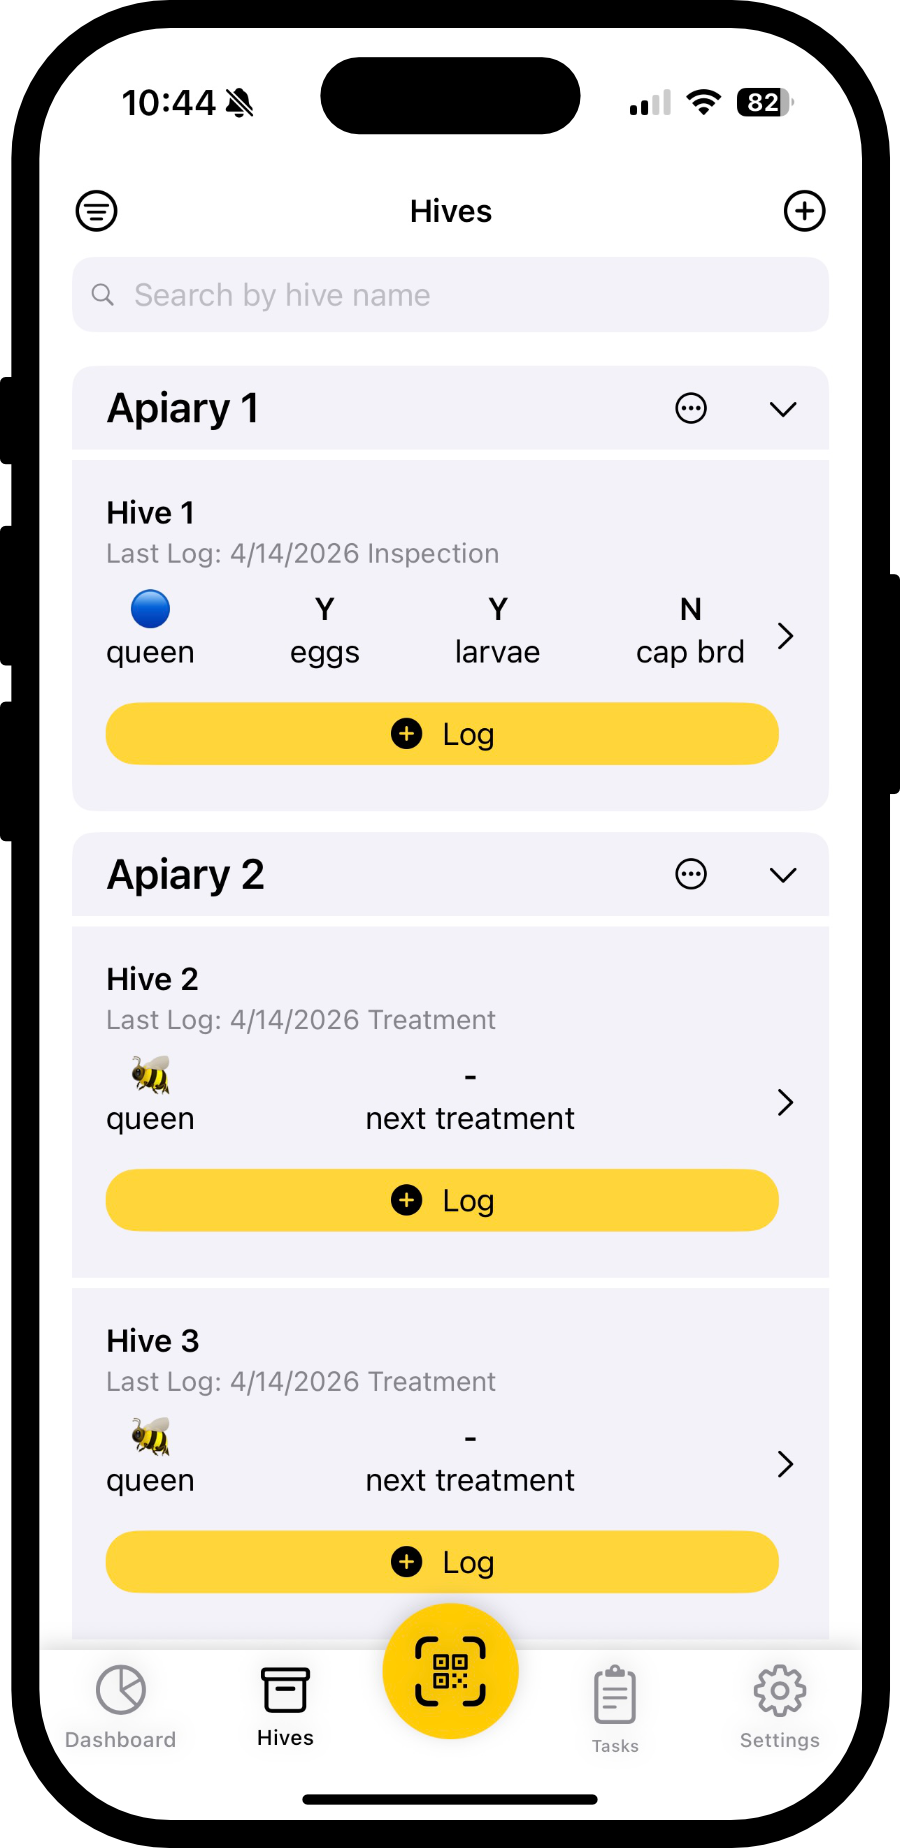
Create your hives in HiveLogger
Before printing, make sure each hive you want to make a QR tag for has been added in HiveLogger.
Open the Print QR Codes screen
Go to the Settings tab in the app, then tap Print QR Codes.
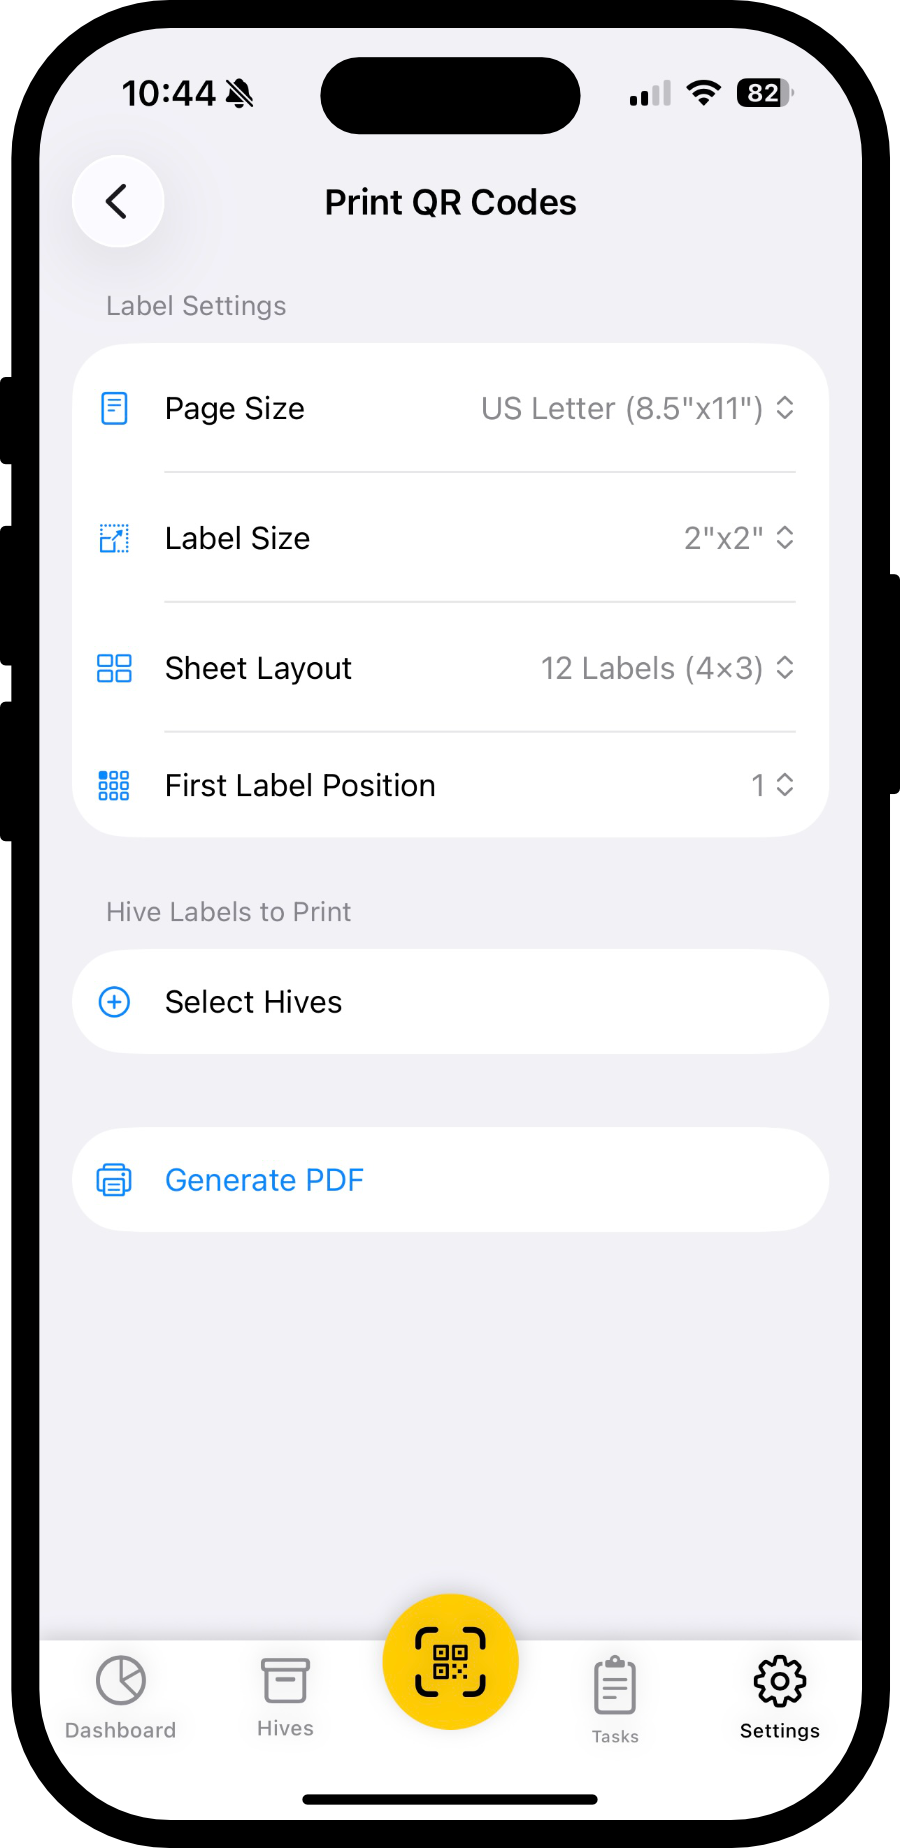
Configure your sheet settings
Select the page size, label size, number of labels per sheet (12 or 20), and the starting position.
Select which hives to print
Choose the hives you want QR codes for. You can select an entire apiary or single hives.
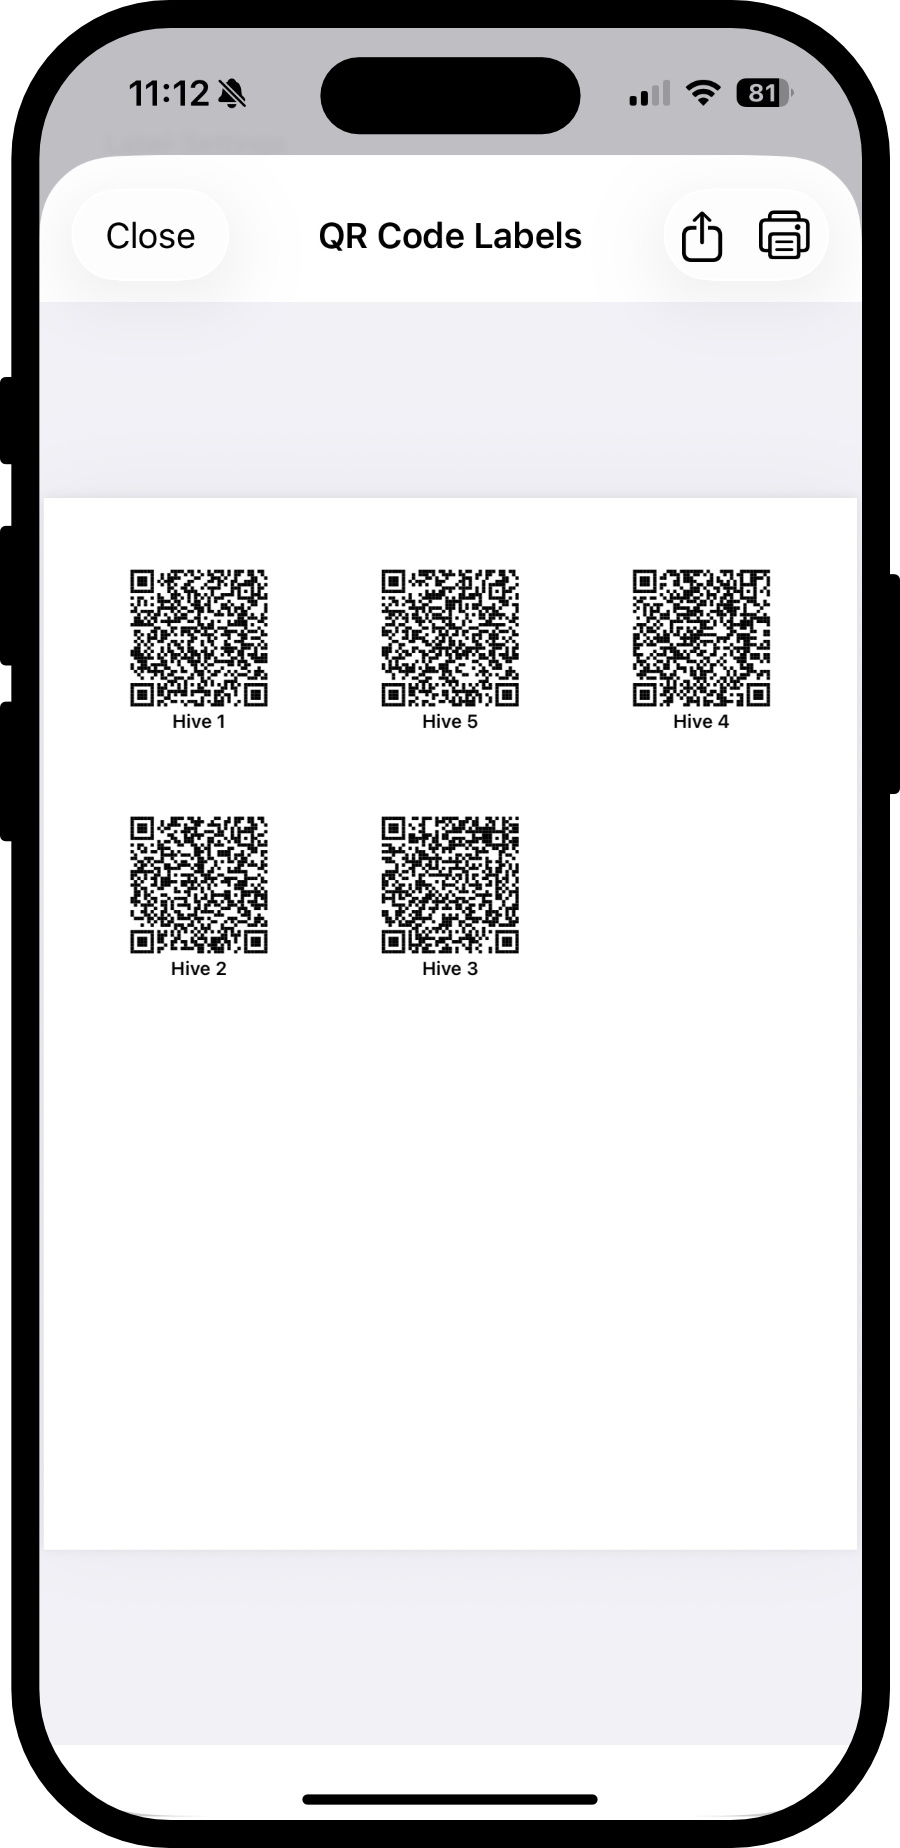
Generate and print the PDF
Tap Generate PDF. Use the print or share buttons to print directly from your device, or send the PDF to another device via email or text. Load your sheet labels into your laser printer in the correct orientation before printing.
Apply labels to backing tags
Peel each printed QR label and press it firmly onto a backing tag. The labels should not be applied directly to the rough wood hive box.

Mount tags onto each hive box
Use a #4 wood screw to attach each backing tag to its hive box.
Scan and start logging
That's it! Open HiveLogger, scan the QR tag on any hive, and you'll be taken straight to that hive's log.
Rather skip the DIY?
HiveLogger sells durable, pre-made weather-resistant QR tags. They are ready to mount right out of the package.
Shop QR Hive Tags